
Switching up from my normal aircraft modelling, I decided upon a small diorama of a shot up and partially burnt-out Tiger I (my favorite tank). For my plan, I needed a kit with a full interior. Not a lot of choices out there. After some online research, I decided on a RyeField Models (RFM) 1/35th scale late production Tiger I.
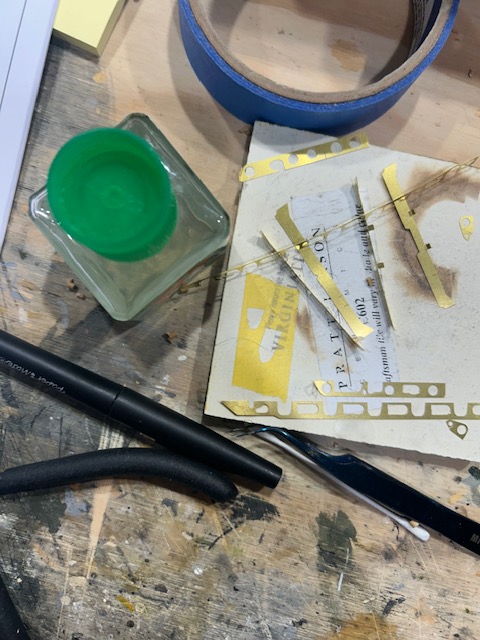
To say that the very large box was filled to the brim is a gross understatement. The kit has 26 sprues (one clear, and the total doesn’t include individual track links); the lower hull; 2 PE frets; simulated metal cable; and decals of some of the more photographed late model Tigers. One thing I was immediately disappointed with, however, given that this kit has a full interior, is that there are no decals for the interior. My interior photos show lots of placards and stenciling. Archer Transfers and Peddinghaus Decals (through Ebay) to the rescue!
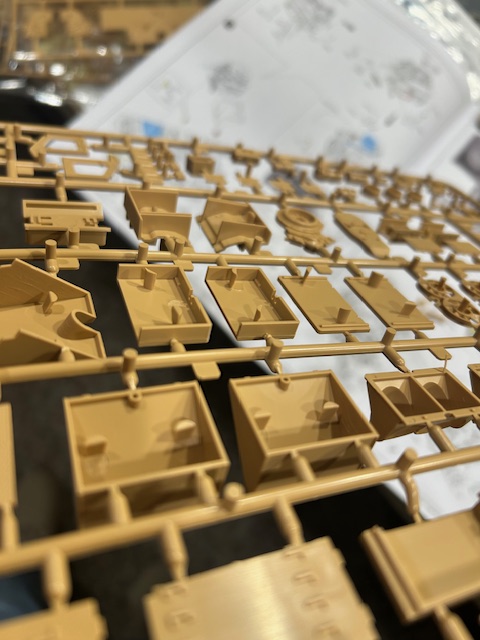
Upon first examination of the sprues, it is apparent that you’re getting more than just your Tiger version. I counted eight gun mantlets (no, that’s not a typo), three turret tops, and at least three engines. Clearly, you are getting sprues from the other two main kits (early and mid production, and with and without interiors) because there may be a few parts on that sprue appliable to the late production version. There are going to be A LOT of spares when I’m done.
You also get one sprue devoted solely to hull parts with zimmerit (all late production Tigers had it). I’ve always done my own zimmerit (either with Squadron Green or 3M Acyrl Blue Glazing Putty, an auto body product that, from its smell, is either the basis for, or is indeed what is Squadron Green). RFM’s zimmerit seems to be a bit understated, so I wanted to do my own. Alas, with only one turret in the box (which contains zimmerit) and the hull sides with zimmerit also containing the fender clips, all of which would make it very difficult to grind off the kit zimmerit and do my own, I’m probably stuck with it. I’m not there yet in construction, so maybe I can figure something out to be able to do my own zimmeriting, for at least some of the parts; after all, scale modelling is not supposed to be easy.
In any event, I decided to begin construction by following the instructions and, silly me, I started with step 1. In later carefully reviewing the entire instruction book, step 1 is clearly the hardest of the kit because it requires you to construct a latticework of interlocking PE for the hull supports around the axles. To undertake this task, you’ve gotta be PE great; and I mean shipbuilding PE good. That’s not me. So, after gluing the non-interlocking PE in place with CA, I went right to the only step 1 plastic: 4 pieces constituting the pin axles for the running gear return rollers. Simple, right?
My “go to” kits for armor have always been Tamiya. I’ve never had big problems with them. The Ryefield Model Tiger I is a very expensive kit, and “modern”. I expected a relatively easy (albeit complex, because of the full interior) build. Nevertheless, I decided to dry-fit the first pieces of plastic. First, there were ejector pins (I use that term loosely) that did not allow the two adjoining parts to close. Cut those off. Should I dry fit again? Naw. Go right to glue. They don’t join. The alignment pins are too big for the matching holes. Out comes a pin vice to enlarge the holes. Now they fit.
Minor grumblings begin.
Because my damage is going to be to the rear of the vehicle, and I wanted to plot out early how this is all going to look, I decided to put further hull construction to the side and go right to the engine. From pictures I have and those I’ve downloaded from the internet, the parts look to be very accurate. The engine alone has more than 70 plastic parts and a number of PE parts.
Before discussing the engine build, let me first make a few comments about the instructions and the parts on sprue.
In many regards, I found the instructions less than clear, and at times mere suggestions. Red on the instructions depicts where to glue. Blue means you copy this step somewhere, but it’s not always clear where the copy step is supposed to go. Sometimes, it’s on the other side, and sometimes it’s side by side. You figure it out. Same with a number of the “don’t glue” icons. Just what am I not supposed to glue when the icon is just in the middle of the diagram? A couple of parts (so far) are mislabeled on the instructions (no, you don’t attach the entire rear hull plate to the driver’s instruments).
There are some photos of construction in the instructions, and you should look those over carefully and extensively BEFORE you start this kit and before doing any “copy” steps. Trust me. There will be times when you look at one of the construction diagrams and say to yourself: “Huh?” You may, however, be able to figure it out by looking at one of the photos.
In addition, there are no painting instructions as you go. There are some photos (or colorized computer depictions) toward the end of the instruction book with some very vague color references to what appears to be Mr. Color colors (semi-gloss). Rely, instead, on color photos of the tank interior.
Then, there are the ejector, well, BRICKS (see below). You can’t be accurate by referring to them just as ejector pins. In many regards, they look like they are part of the part. Lots of time spent breaking or sawing (“cutting” doesn’t cut it; to make a pun) them off.
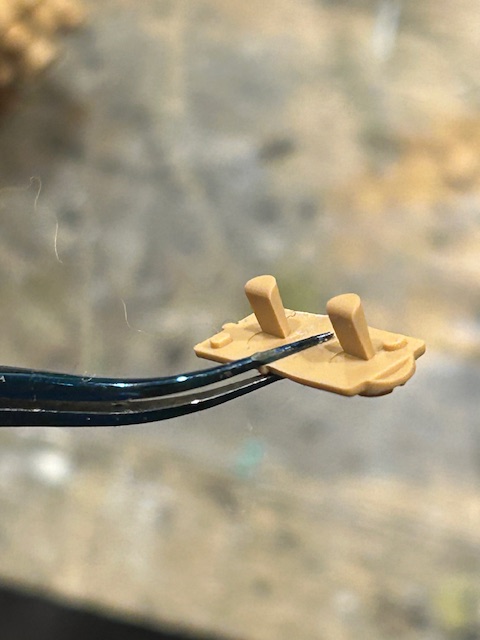
In addition, at times it is very difficult to discern what on the sprue is actually part of the part, and what is molding excess that is to be discarded. Are the two ends that look like horns part of the part or just extra molding? If you said, “part of the part,” DO NOT PASS GO AND DO NOT COLLECT $200. It’s just waste that needs to be cut off. You can’t figure that out unless you look closely at one of the photos. Oh, and that tab on the top of the rod? That’s extra too that must be cut off (CAREFULLY, or you break the very narrow rod).
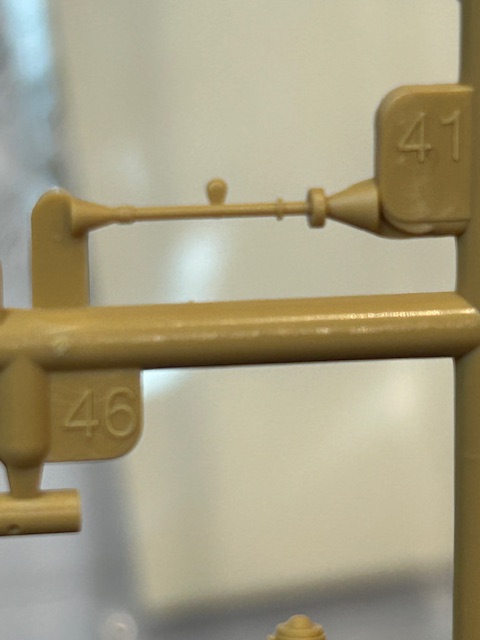
On the complete other side of the spectrum, you can’t assume that the sprue tab is actually the sprue tab that has to be cut off. The kit comes with some sprue tabs that also contain an alignment tab for the part. I cut off more than one alignment tab wrongly thinking it was just part of sprue. Check everything BEFORE using your nippers.
Well, I got the motor mostly built (still need to do some damaged pipework) and the transmission.
That’s it for now.
TO BE CONTINUED.
Brad Shafer


Leave a reply to Norman Witte Cancel reply