This project, a 1/48th T-6G by Ocidental (#0201), started from a photo of my dad sitting in the cockpit of a North American T-6G Texan as a flight instructor at Bartow AFB, Lakeland, Florida. Vince Tassone graciously offered to make me a set of decals replicating the aircraft number and identifiers from the photo.
It took me two kits to complete the project. I originally built an Ocidental 1/48th Harvard (#0211), but I made a serious mistake in the painting. That meant stripping the Mr. Color lacquer and starting over. Bad move! As I added all the final details, things started literally falling off and falling apart. Finally, I decided I had to give it up and start all over.
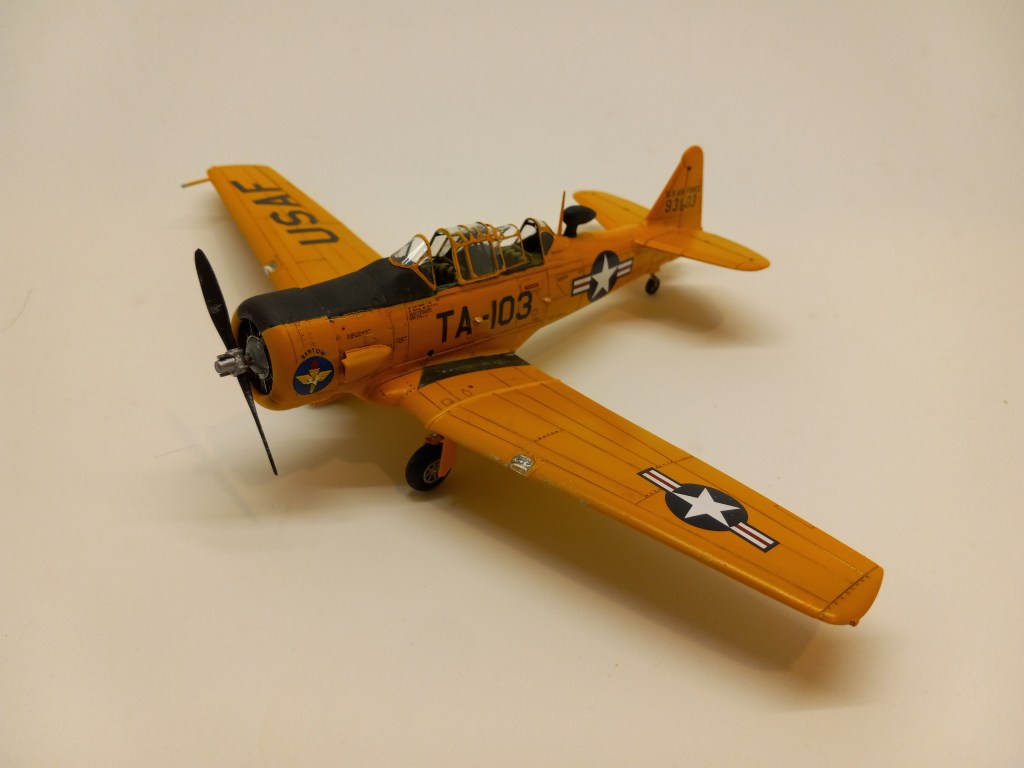
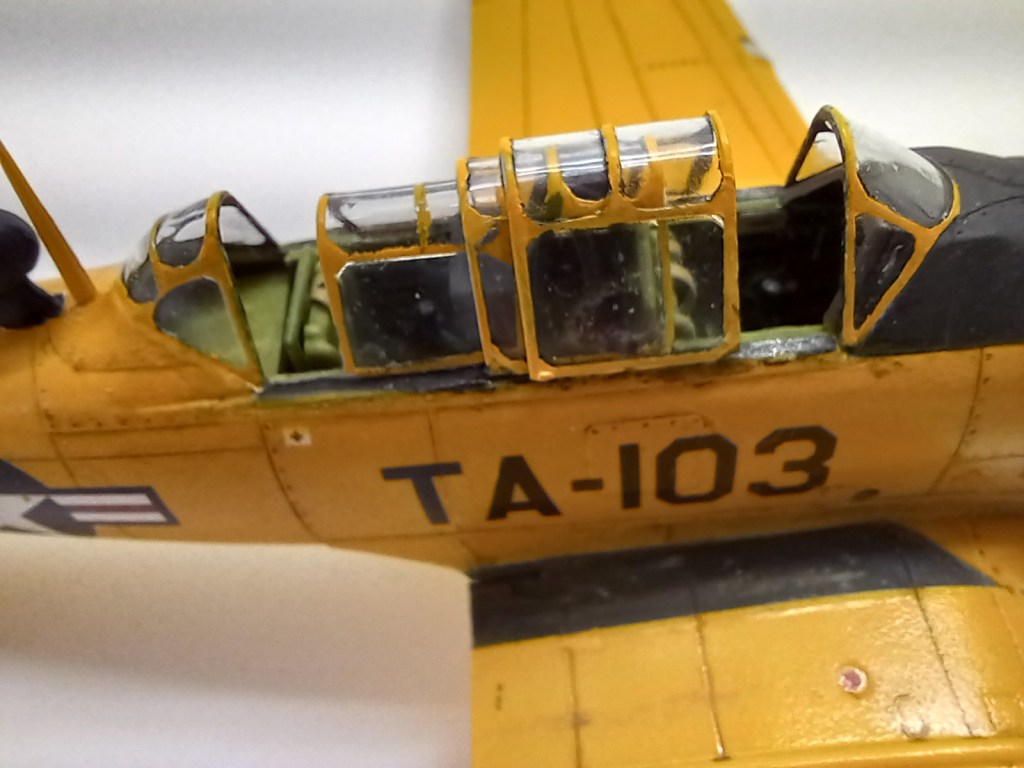
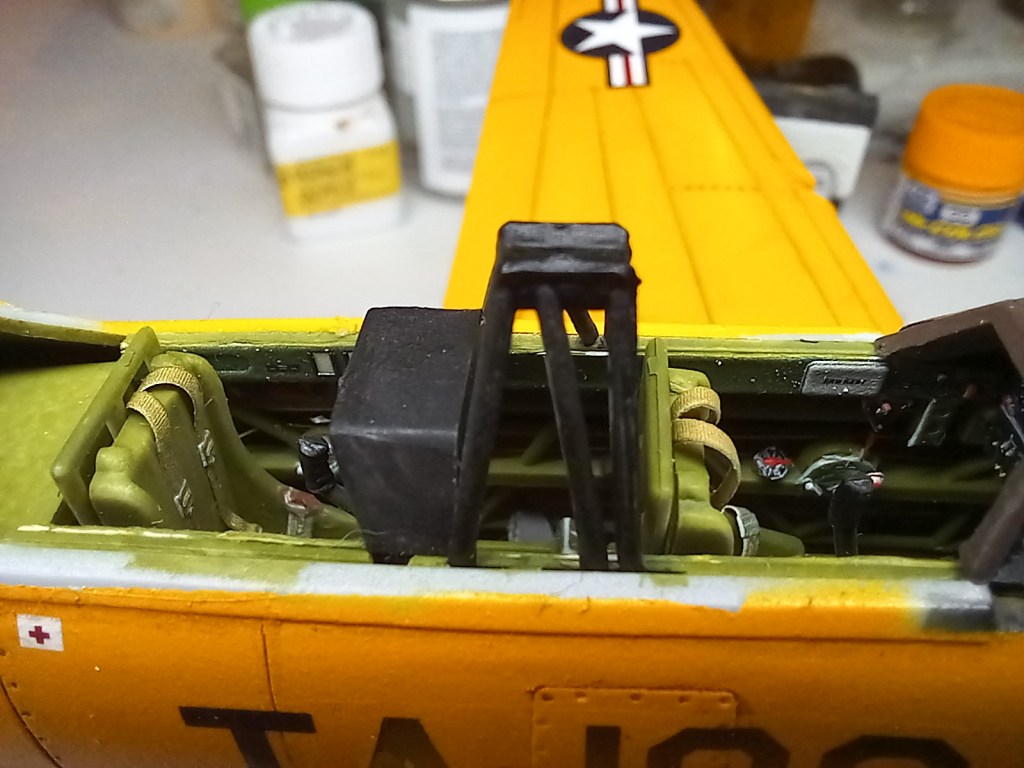
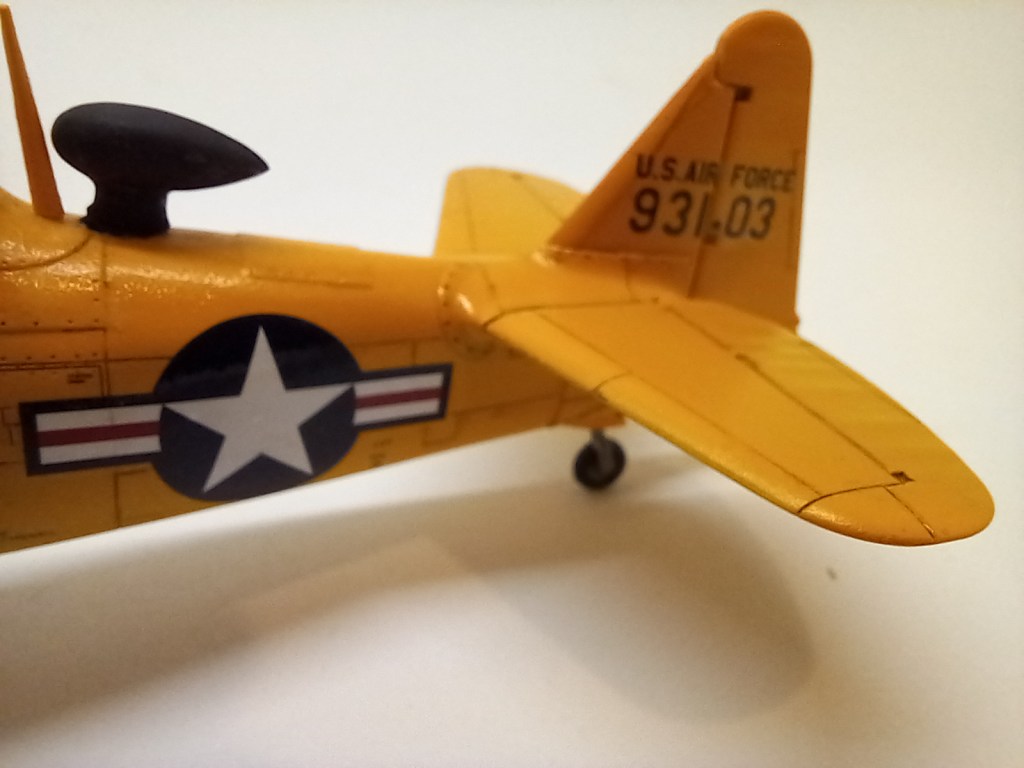
This kit went together fairly well, with no major problems. I supplemented the interior with a set of 3-D decals from Quinta Studios. Primary landing gear were from Scale Aircraft Conversions (SAC48094), though the tail wheel was from the kit. I primed it with Rust-Oleum Ultra Cover Flat White Primer decanted and applied with my airbrush. After painting and masking the flat black of the anti-glare panel and walkways, I applied Mr. Color C58 Orange Yellow as a finish color. I lightened some panels on top very slightly and added some shading on the underside to represent it sitting on a parking ramp. A coat of gloss acrylic was next. I highlighted panel lines with a greatly thinned brown lacquer. After another coat of gloss, I applied decals. These were mostly from Caracal Models USAF T-6G Texan (CD48098), but the aircraft IDs and the “Bartow” over the Air Training Command emblem on the cowl were custom printed for me. A special thanks to Vince Tassone of Stormo magazine. Another coat of gloss sealed everything.
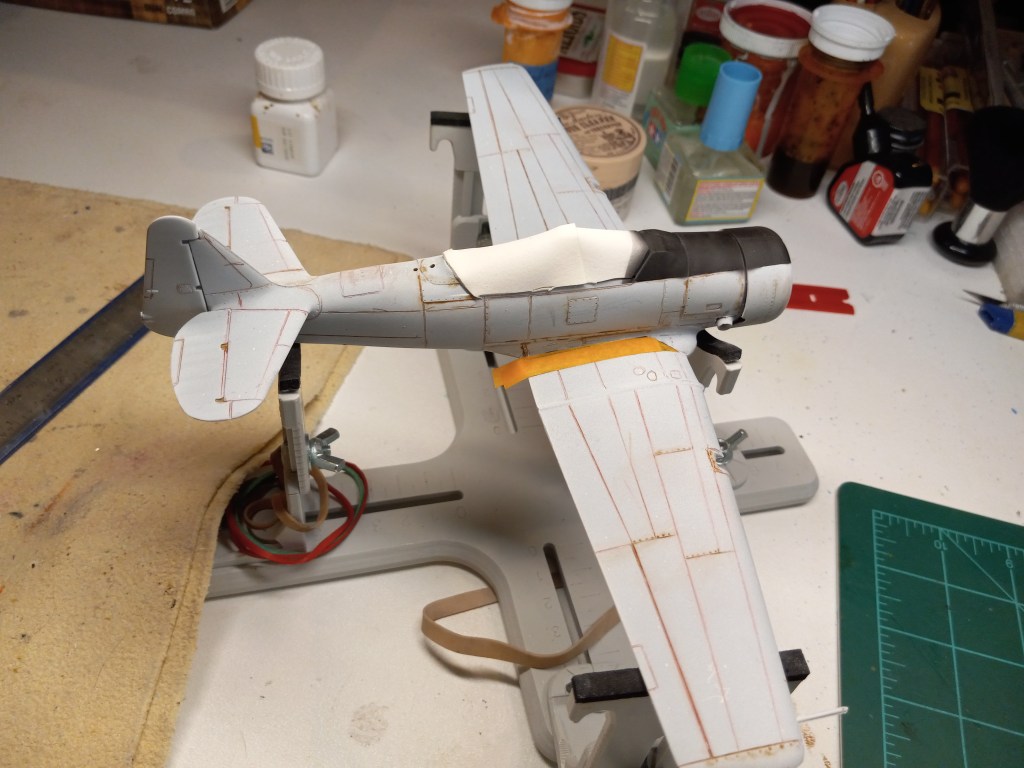
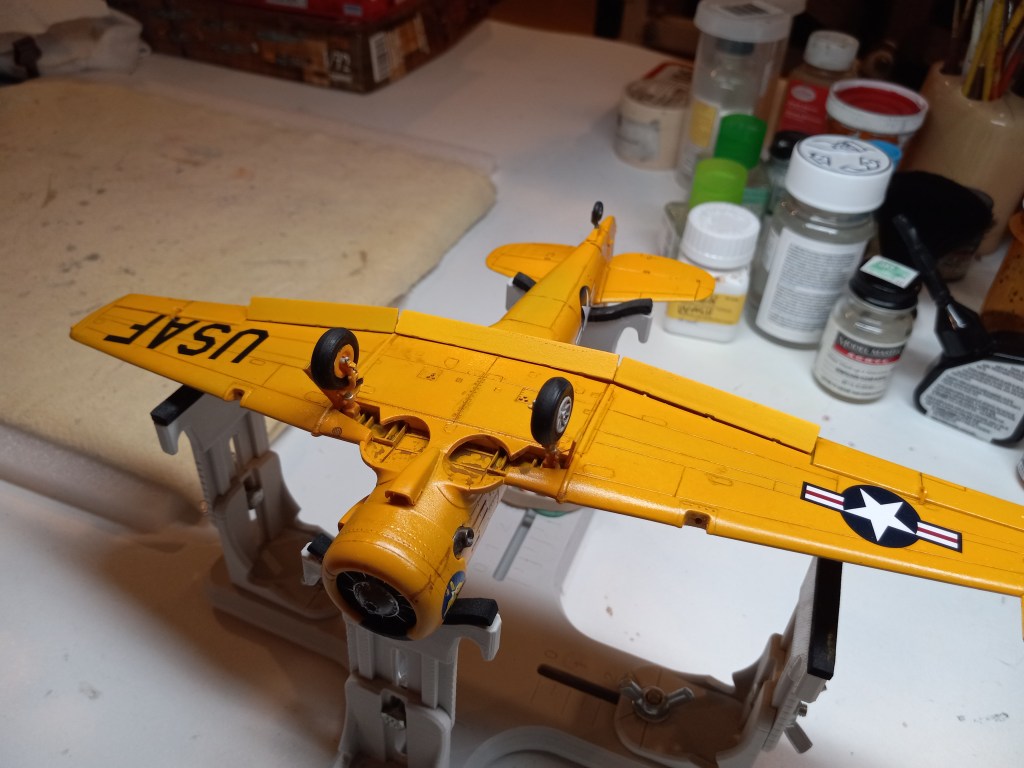
I started with the underside details: flaps, landing gear and doors, rudder control cables, aileron trim tab control rods, rod connecting gear doors to struts. Then I turned attention to the top side. The canopy I masked using Eduard EX202 T-6G Texan masks, which were designated for Italeri but also the Ocidental kit. The windscreen and rear section went on fine, but the three main canopy sections were designed to be closed. To make the cockpit visible, I had to do a lot of careful sanding to part 52 so it would slide partway into part 51, and getting part 50 to sit over 51 took a lot of effort and CA glue. The whole process left all three sections much more scuffed than I had hoped. Finally, I put the antennae and prop in place.
Weathering consisted of colored pencils on the walkways, pastel chalk for the exhaust and oil pastels for spills and streaks. A I used a minimal amount of chipping on the leading edges and prop with a sponge and white aluminum.
The result is not as great as I had hoped, but it’s as good as I am able to accomplish and it fulfills my intent: to create a tribute to my dad who was a pilot his entire career and flew TA-103 as an instructor for a time at Bartow AFB.


Leave a comment