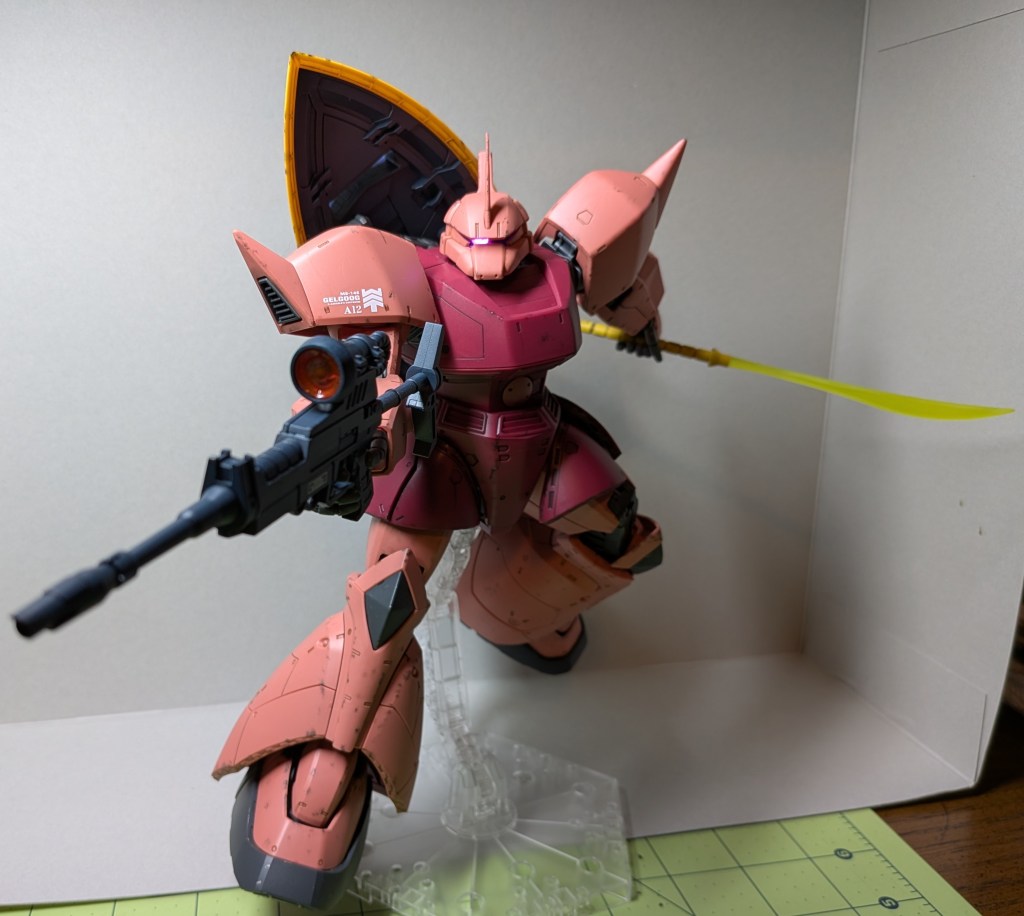
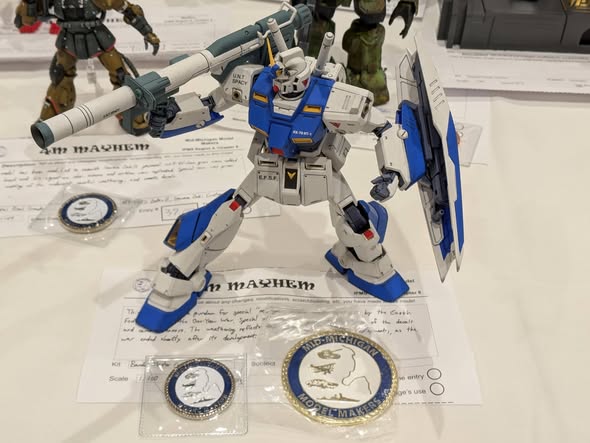
Because time is in short supply and Bandai’s Gundam kits come molded in color, I wanted to see how little paint I could put on a model and still get a good finish. After doing the regular test-fitting and nub cleanup, I decided to install a small LED for the eye to glow. I had to drill small holes through slightly less small parts to feed the wires down into the chest, where I removed some of the internal structure to make room for batteries and a switch. I also sanded the clear eye piece to increase the light diffusion, and added some black paint to the back side of the armor panels around the eye to prevent light from bleeding through. This is only the second time I’ve added my own LEDs to a kit, and wiring around moving parts was quite the challenge!
I wanted to make the grey parts of the mobile suit’s frame more metallic without fully painting them. To achieve this, I dry brushed all of the parts of the frame that would be exposed once the armor was on with Citadel’s Base Leadbelcher to create a gunmetal effect. Next, I gave the whole frame a wash with Citadel’s Shade Nuln Oil. I usually use Tamiya’s panel liner, but many of the frame parts are made of ABS, and the enamel solvents could damage the plastic. I put the armor back on and used Tamiya’s Brown and Black Panel Liners to accent the lighter and darker pieces respectively. I also applied these to the shield and weapons.

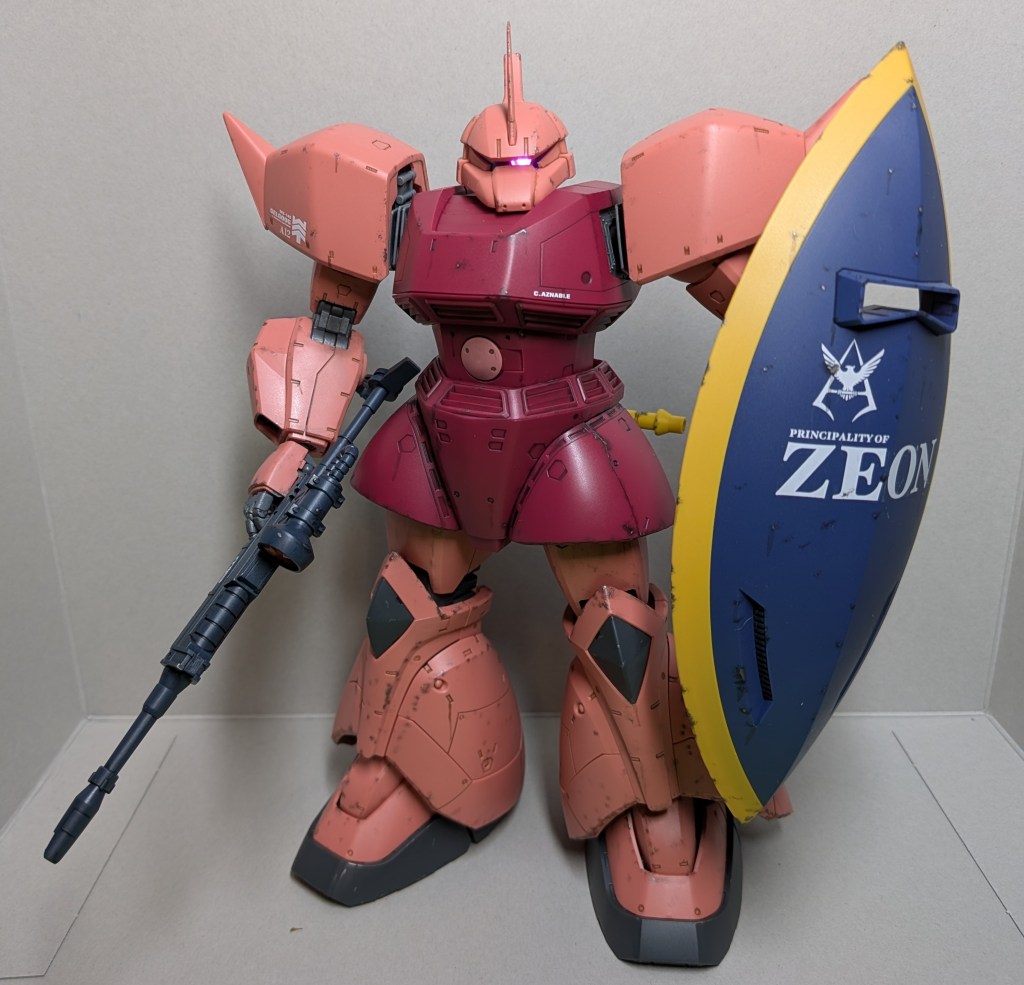
Then I applied the decals. This kit came with both sticker and dry-transfer decals. I only used the dry-transfers because I didn’t want to deal with the thickness of the stickers, and I didn’t want too many decals on this kit. Not as nice to work with as waterslides, but the rub on decals still look very sharp!

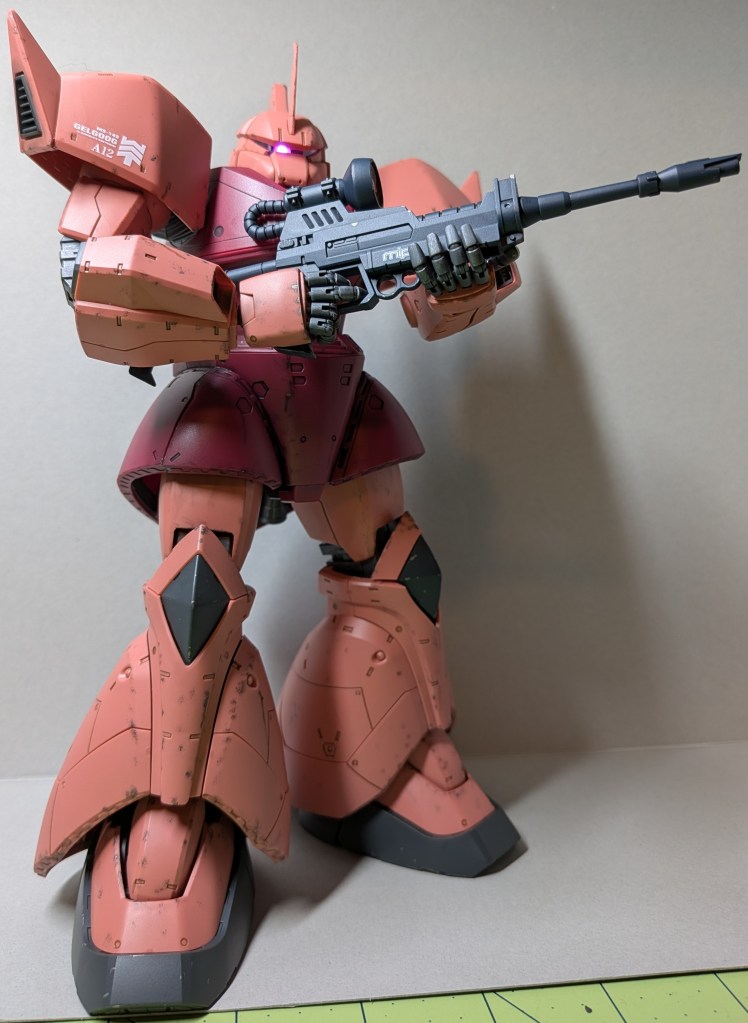
This is where things get more experimental. I began weathering with some sponge chipping. This is a new technique to me, but I got a better feel for it as I progressed through the kit. I used a small piece of sponge with Vallejo’s Air Black, focusing on edges, corners, and areas that seemed like they would come into contact with other things, like the legs. I also tried to keep the chips quite small, as this is 1/100 in scale. After applying the black chips, I used a toothpick with Citadel’s Base Leadbelcher to add a little metallic to the middle of larger chips, to show the bare metal underneath the paint. This extra layer really adds a lot to the chipping effect. In the future, I want to try this again using colors similar to the base color to make a more subtle effect.
Next comes streaking. I used Citadel’s Shade Nuln Oil and Agrax Eartshade to add some streaks of oil, fluid, and what-have-you. This is also a new technique for me, and I found it difficult to keep the streaks as narrow as I would have liked. I focused these on panel joints and on chips from the previous step. Next I added some soot pigment to some of the vents around the kit, as well as all of the thrusters in the feet, legs, and skirt armor. I also added soot to the armor around the thrusters. For this I used one of Tamiya’s Weathering palettes. One thing I had to keep in mind while weathering this kit is that the Gelgoog was primarily a space-use mobile suit, meaning there would be far less dirt and dust around the feet compared to those used in gravity, and streaks wouldn’t always flow toward the bottom of the mech.
I also painted the clear camera piece on the beam rifle using Citadel’s Technical Spiritstone Red, backed with Plated Silver Gundam Marker. As a side note, these technical paints (including Waystone Green and Soulstone Blue) are really interesting. They are a water-based acrylic like the rest of Citadel’s line, but they dry very slowly and have a self-leveling property. They are also quite thick, and are meant to be applied without thinning. Once dry, they are very glossy and have a “depth” to them that looks fantastic over a metallic base. I use them often for cameras and Gundam eyes.
Finally, I used Citadel’s Munitorum Varnish to top coat everything except the beam rifle camera and the clear visor piece. It’s not perfect, but I learned a lot by trying some new weathering techniques that I will definitely use in future builds, and I’m quite happy with how it turned out overall.


Leave a comment