By Brad Shafer
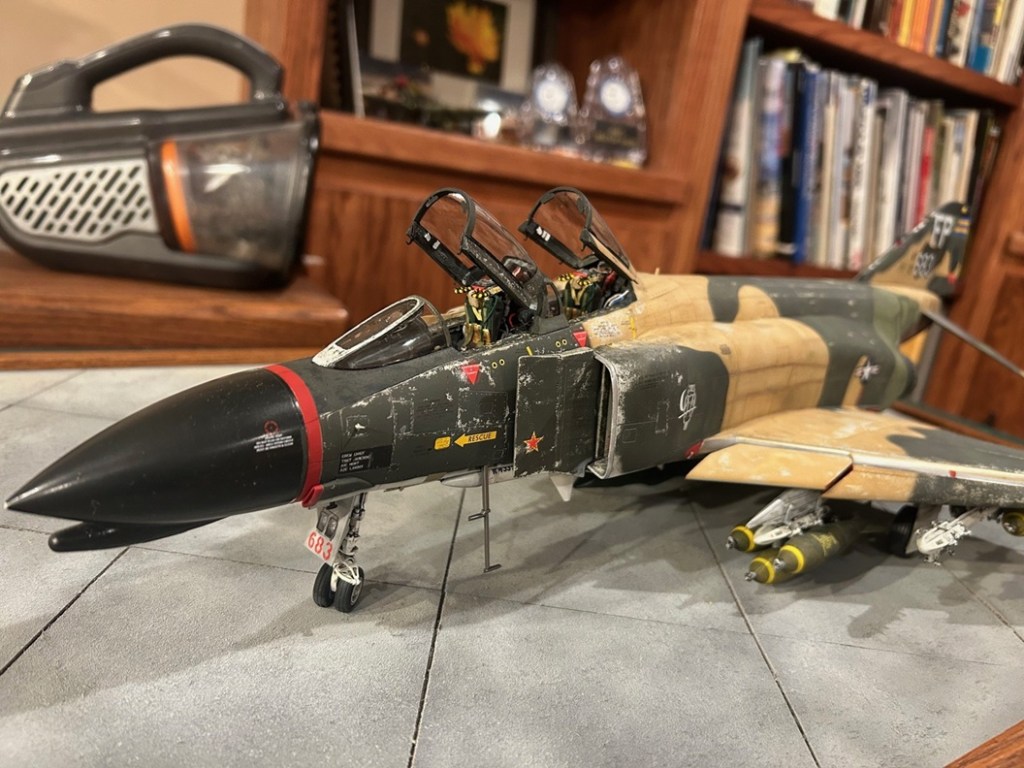
At the Great Lakes Challenge, I had the opportunity to show how I weathered my twice best in show F4 Phantom. Here are some of the paint types and colors I used to pull off the effects.
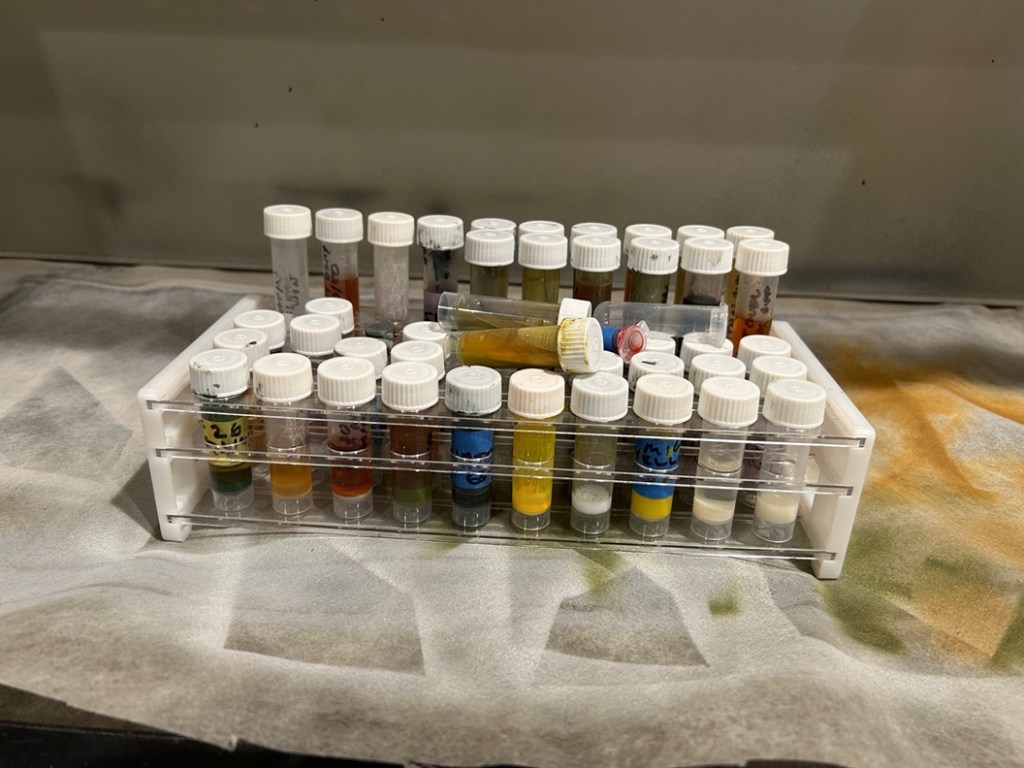
The whole process took a variety of custom paint mixes and a lot of hairspray.
The cockpit sills I painted first with aluminum, then coated with hairspray to allow chipping. The second coat was chromate yellow, which I chipped down to the aluminum. Another coat of hairspray allowed the final color, NATO black, to be chipped to the prior two layers. I sealed that with clear satin. A lot of work, but a very nice effect.
For the exterior, I started with the flying surfaces. Each I painted white or light gray first (depending on the surface). A coat of hairspray then allowed the hand-mixed camouflage colors to be chipped. Those I then sealed with satin clear.
For the main fuselage, I sprayed the underside first with black primer, then misted on three different whites for a marbled effect. I started with a darker white and moved to each lighter shade, with the lightest white to replicate the “paint outs” of the large “Navy Style” star and bar and the USAF letters on the underside of the port wing. I used Fundecal decals for stenciling on the underside. In case you try to count and give up, it’s 173 separate decals.
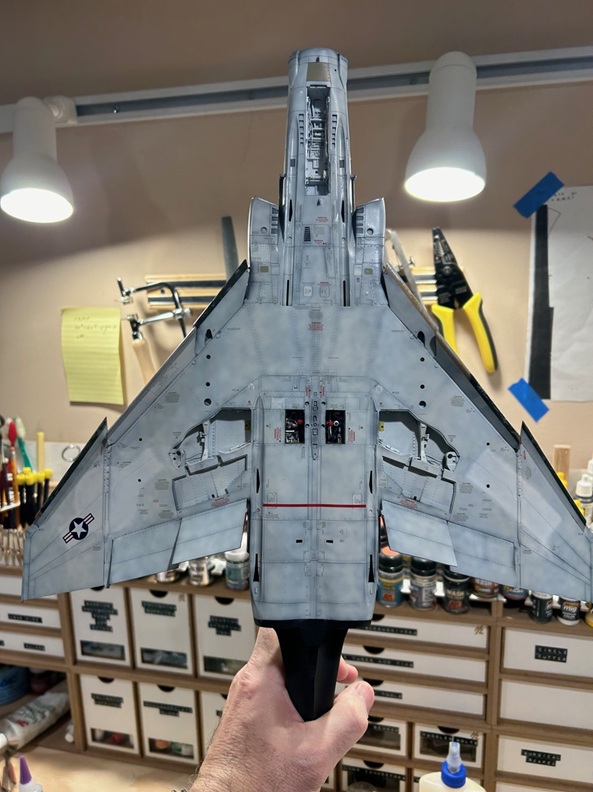
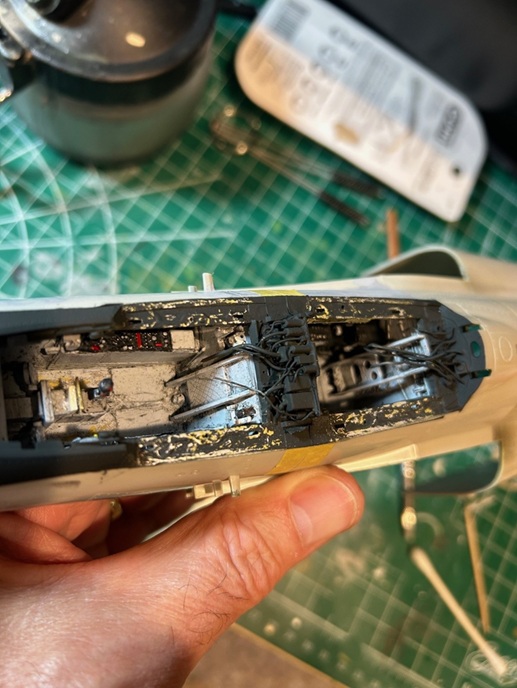
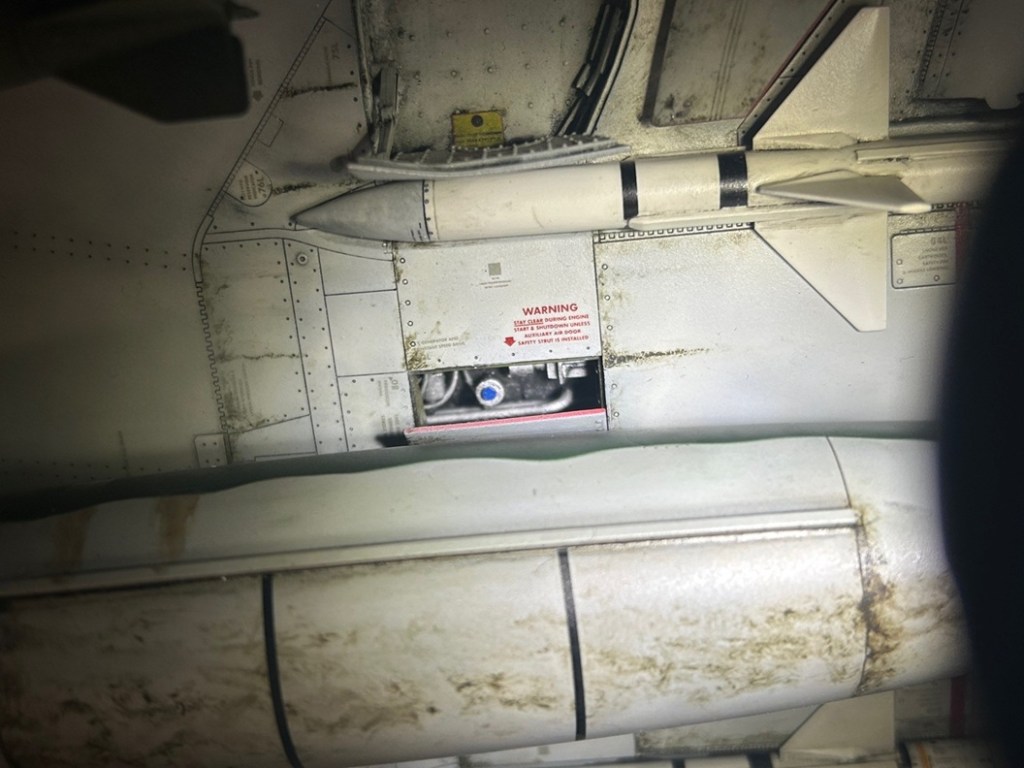
For the stains and spills on the underside, I used artist oils. This photo also shows the scratch-built engines that show through the auxiliary air doors.
I used the marbling technique on the top side, as well, with different shades of each base color. I only worked on one camouflage area, of one color, at a time.
The upper fuselage also saw a variety of chipping and touch-up to achieve the effect I wanted.

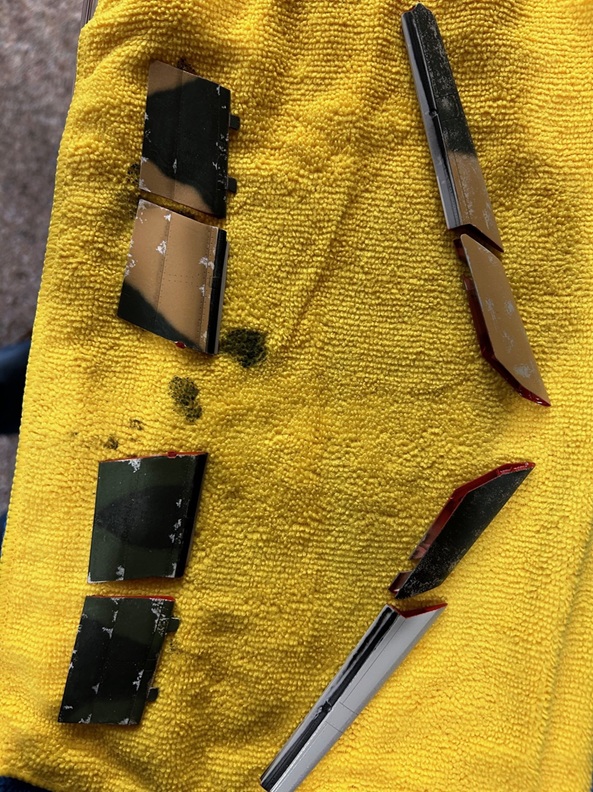
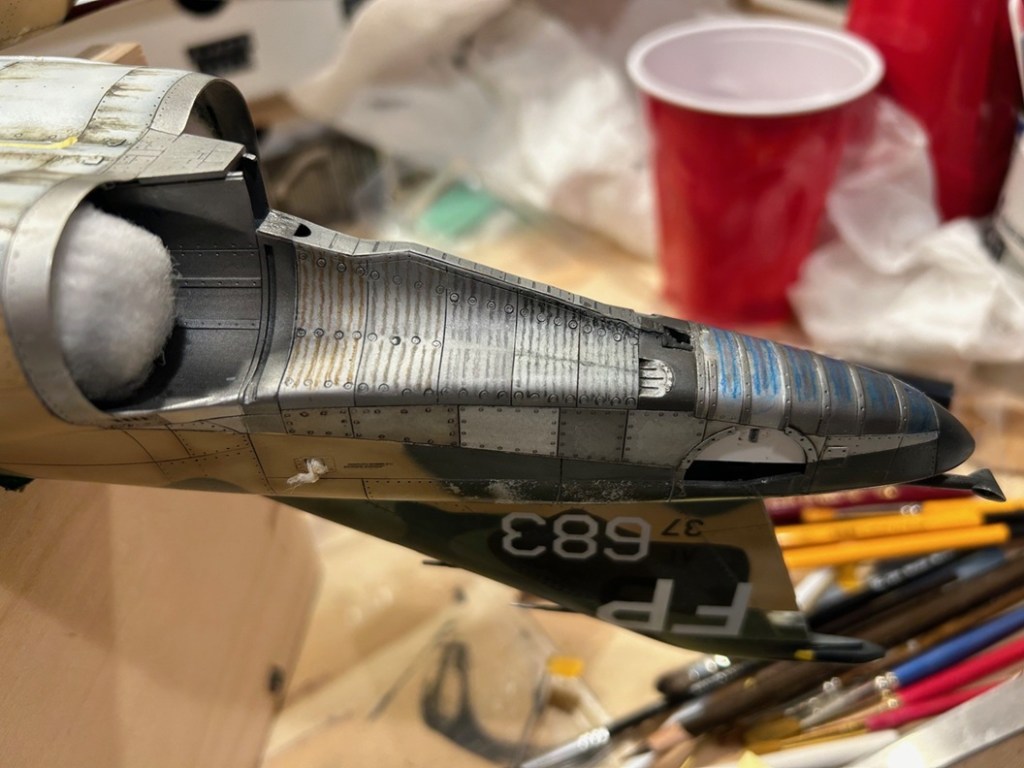
For the rear of the fuselage, I represented the staining pattern that results from the titanium areas being welded on the inside surface to bulkheads with an approach that I’ve never seen in any modeling magazines. Using eight different colors of Alclad, I sprayed each panel, then over sprayed some with clear blue. With 1 mm Tamiya tape, I masked straight lines between the various fasteners. Then I took artist pencils of four different colors (for different panels) and drew a straight line. I then removed the Tamiya tape and freehand overwrote the line with the applicable color pencil going back and forth to make a jagged line consistent with the weld marks on these panels. The missing horizontal line aft of the middle fasteners on the one panel, and the horizontal lines in the following two panels (in front of the vent), are consistent with photographs of Phantoms in this area. The blue lines on the aft panels are airbrushed clear blue and artist pencils. After everything was sealed with satin VMS varnish (thinned 25% with distilled water), I added various dark panel line washes.
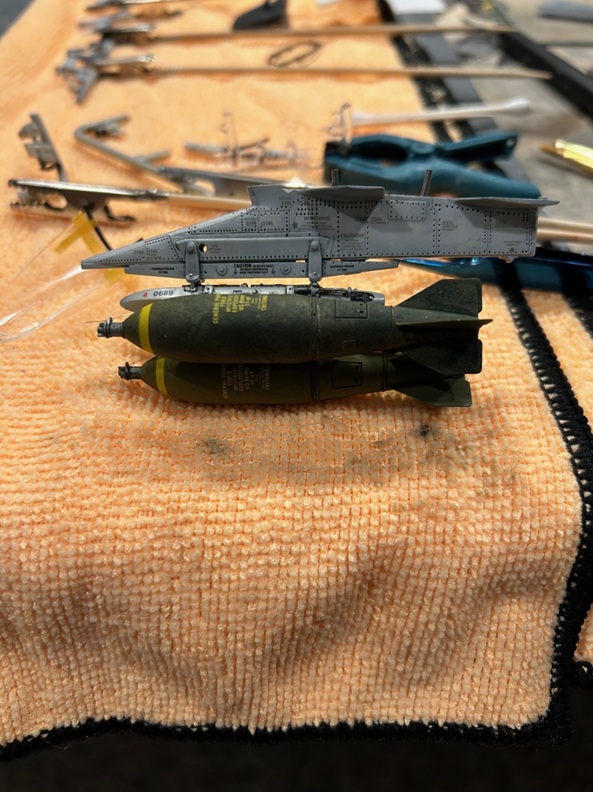
I used similar processes on the bombs and racks, making almost every bomb unique.
Give it a whirl. Happy modelling!
Brad


Leave a comment