Not long ago, I distributed a hand-out listing the steps for creating your own masks, so here is a refresher with some pictures. I hope this is helpful.
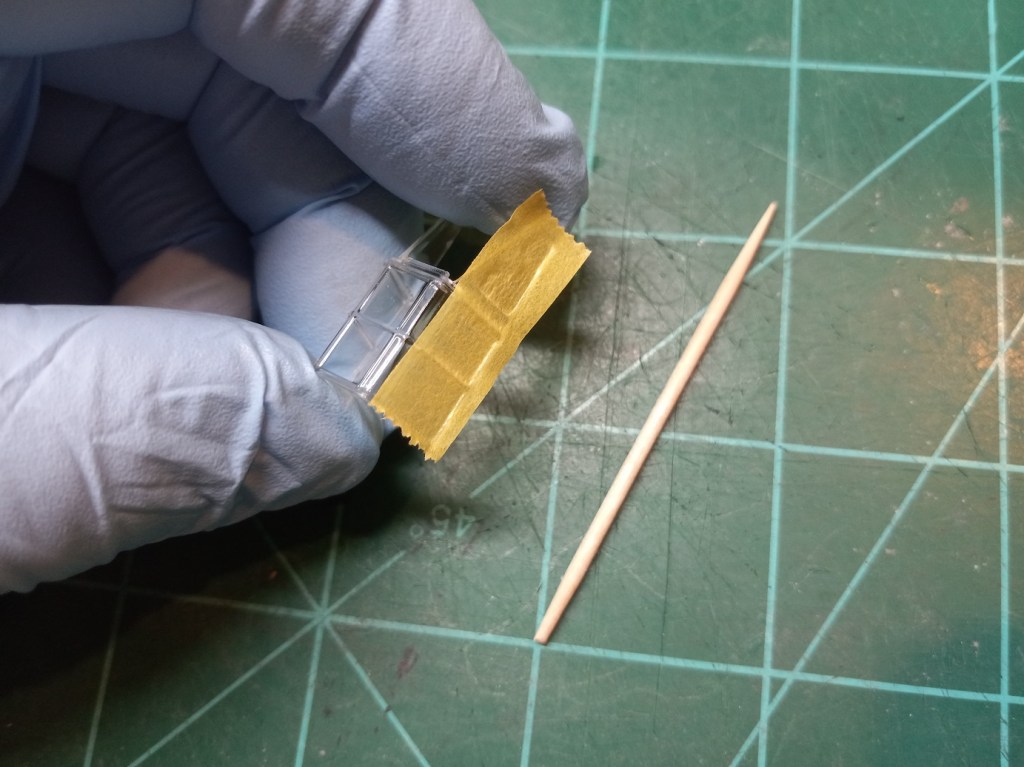
In my experience, the process I’m showing works for canopies with raised framing.
First, apply your tape to a section at a time. Then, using something like the tip of a toothpick, press the taped down so the framing is clearly visible.
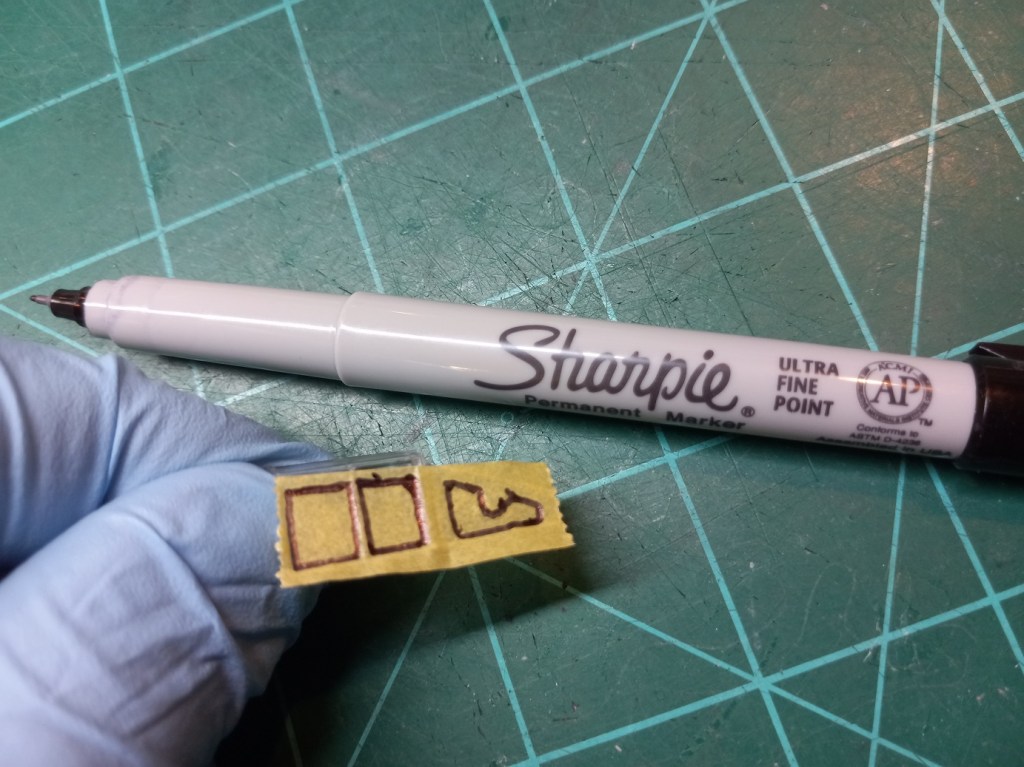
Next, using something with a very fine point, outline the framing on the tape. I use an “Ultra Fine Tip” Sharpie. As you can see, I’m not very good with the lines, but that won’t matter; imagine the result if I’d been cutting it directly on the canopy.
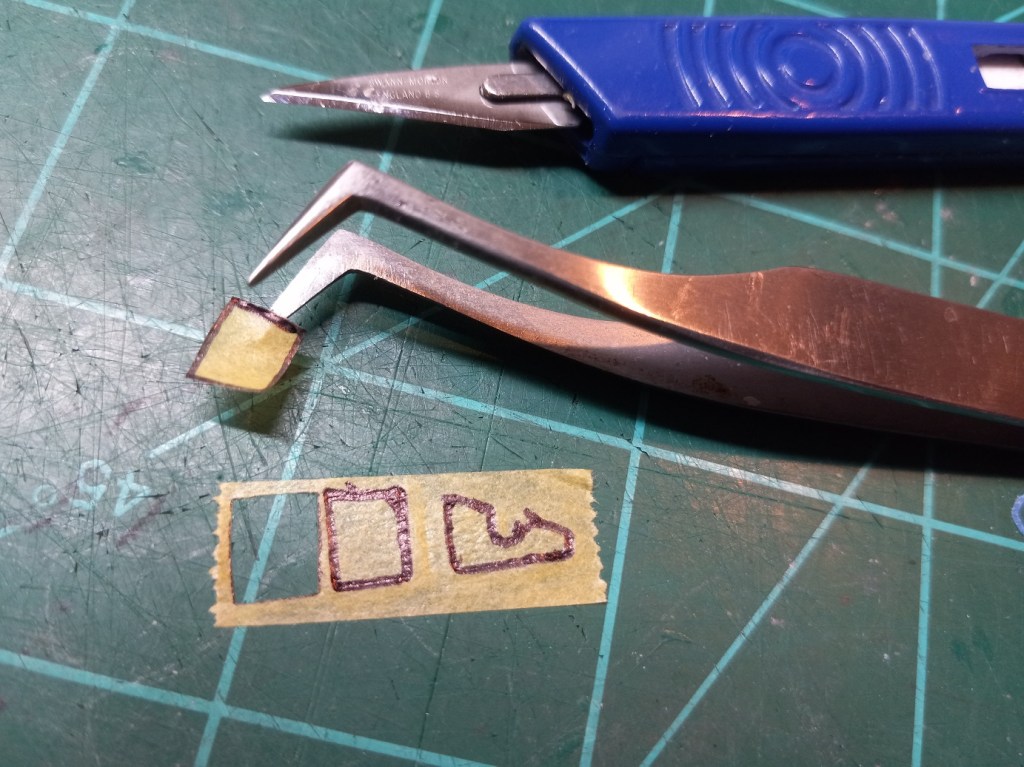
Place the tape on your cutting mat and cut along the outside edge of your outline.
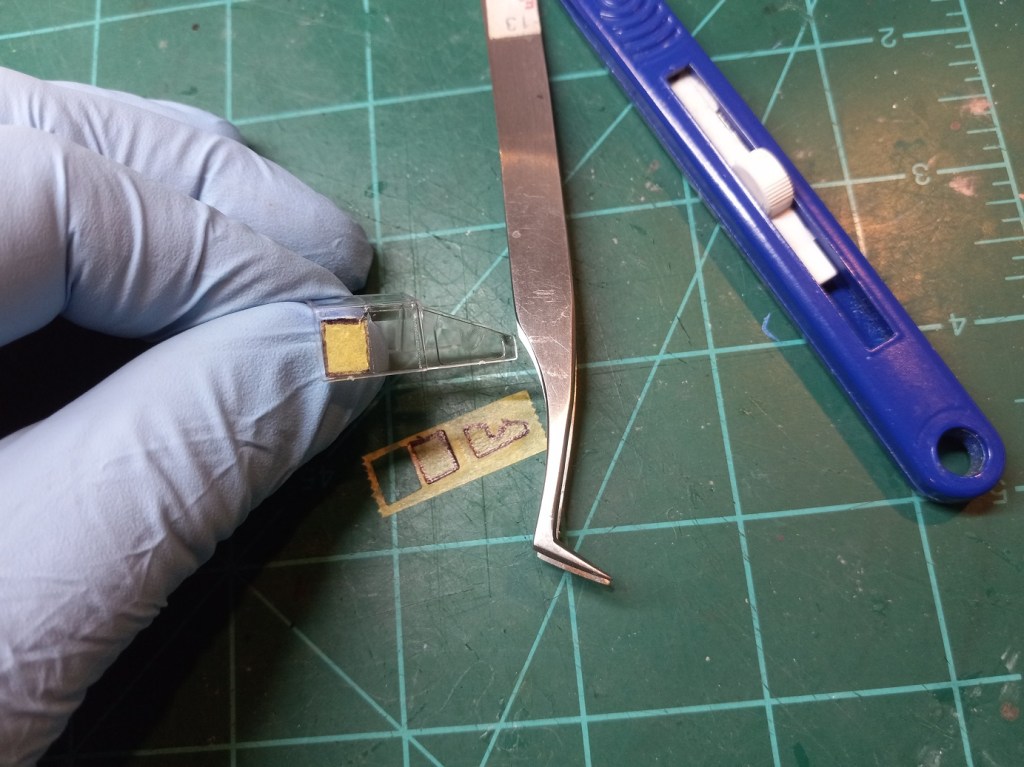
Carefully place your new mask, being sure to press down and seal the edges with your toothpick.
You’ll see “YouTubers” who tell you to apply tape and cut carefully around the frame. Two problems with that: First, I don’t care how lightly you trace with a blade, you’ve got a high probability of scratching the plastic; not good! Second, I can’t draw a straight line with a ruler; imagine me with a scalpel blade! I found a video that demonstrated this technique and it’s worked well for me.
The process I outlined can be tedious, especially if your canopy has lots of panels. The nice thing about this technique, though, is if you make a mistake, it’s easy to do over without having to replace the canopy.


Leave a comment