A brilliant metal finish can be completed with black primer, your preferred metal color and a sheet of printer paper, our member Hyeon-Jung “HJ” Yun showed us in a recent demonstration.
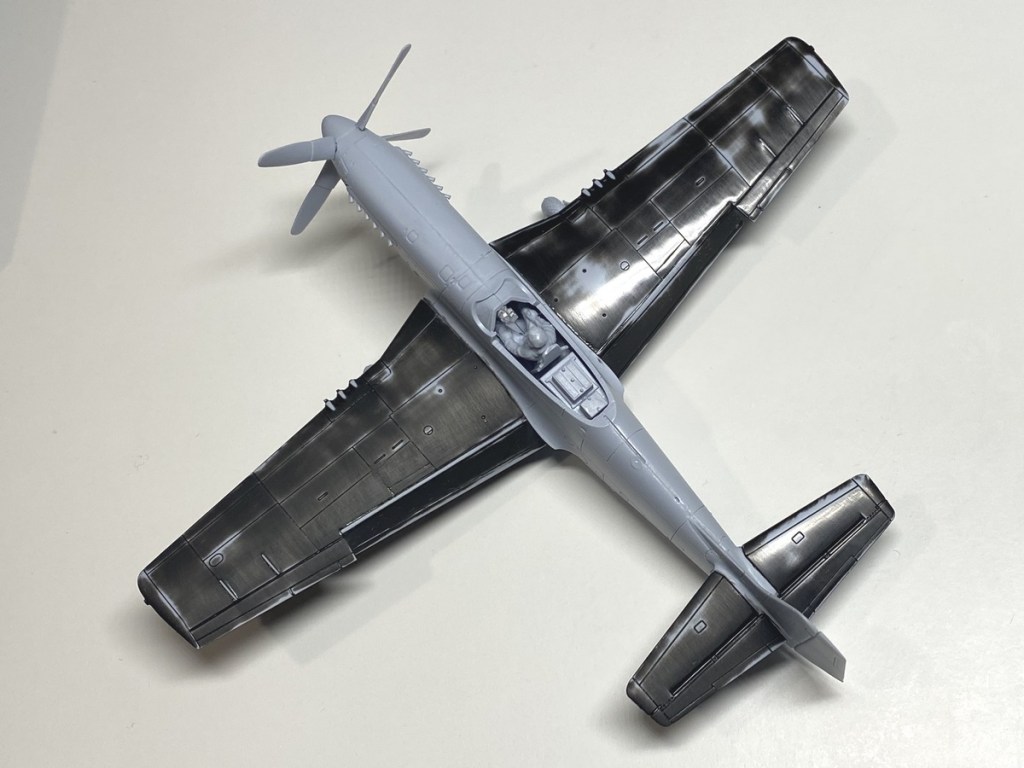
H.J. explained how he achieved a mirror finish: On the feature image for this post, I applied a black primer to the model and polished it. The left wing was treated solely with sanding sponges (from coarse to ultra-fine grits), while the right wing received an additional polish with printer paper. (Seriously! It’s an excellent alternative to other fine polishing tools.) I’d like to emphasize the importance of creating a glossy surface with primer before applying metal paint. Also, to remove any dust, wash the model with dishwashing liquid and distilled (or purified) water.
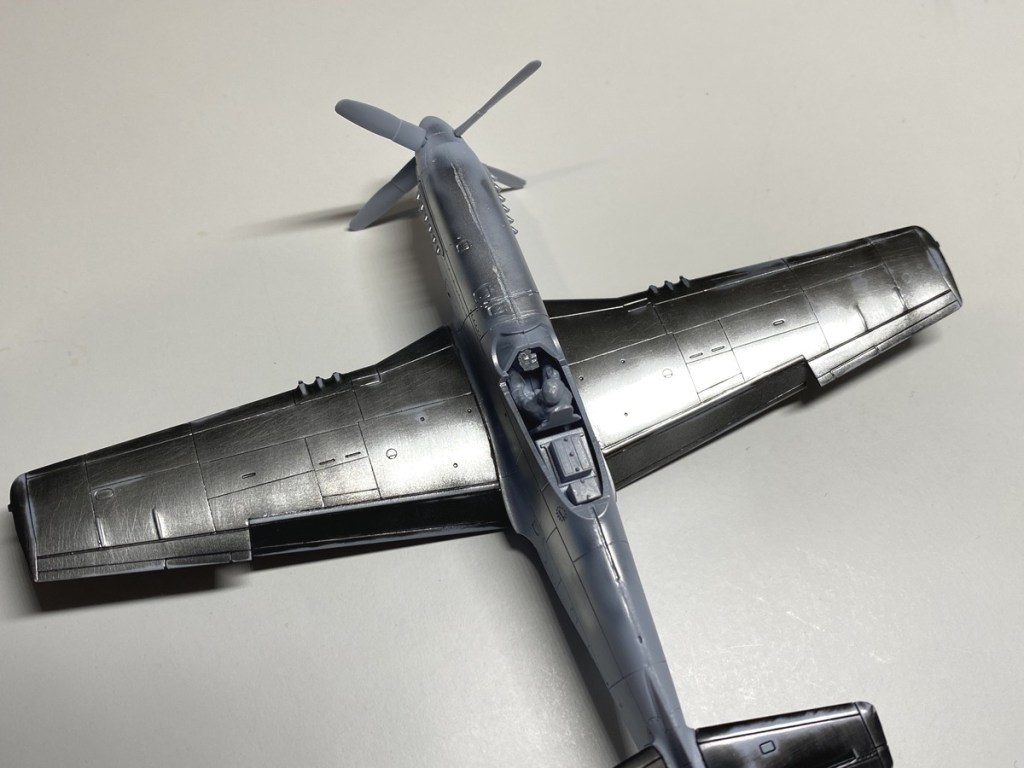
For the image above, I airbrushed Gunze’s Super Chrome Silver 2 (#SM206) onto both wings. The left wing was treated solely with sanding sponges (from coarse to ultra-fine grits), while the right wing received an additional polish with printer paper, and the difference is noticeable.
Painting on the fuselage shows what it looks like when you airbrush metal paints directly on bare plastic. Seriously affected by the underlying plastic color, it usually gets poor (uneven and inconsistent) results
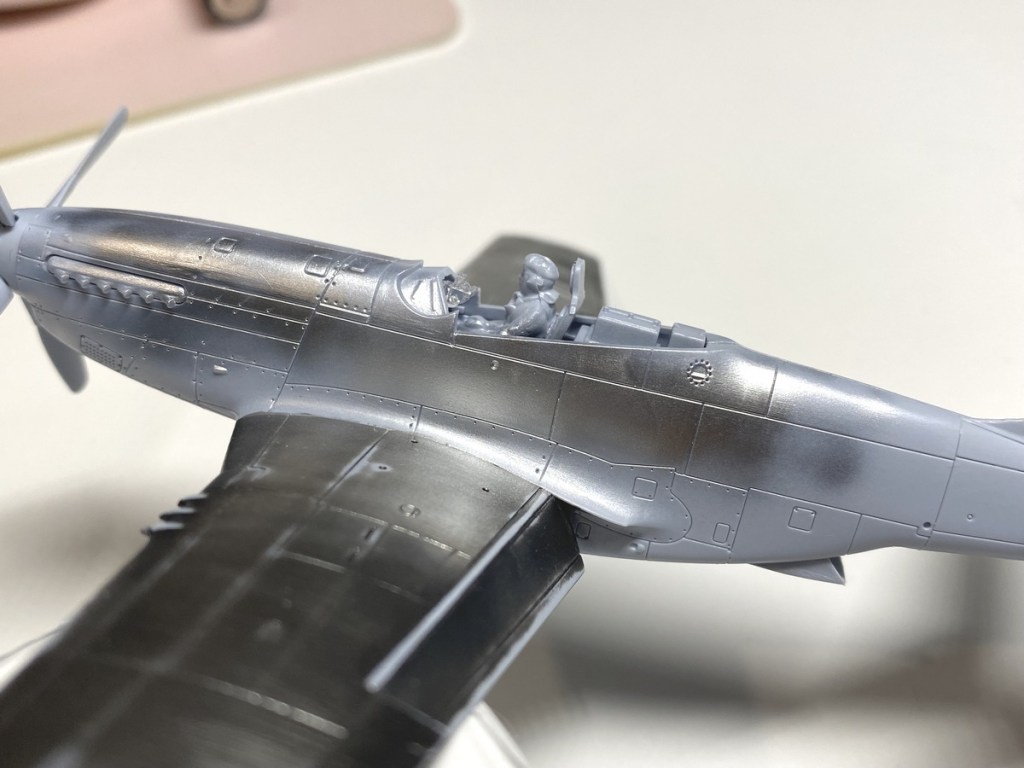
Priming (and polishing) is the key to a successful metal finish. Using a black primer (Mr. Finishing Surfacer 1500 Black from Gunze) will help you to facilitate this process, as metal paints exhibit a more profound and elegant shine over a black base coat.
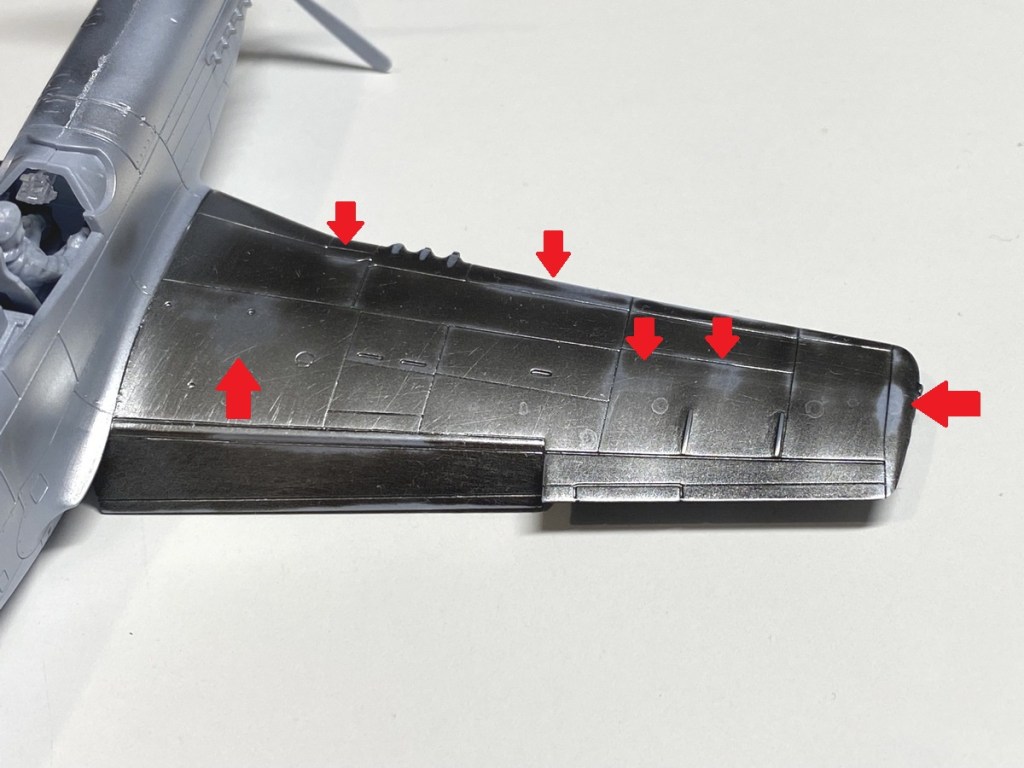
Don’t forget to cover the entire surface with black primer. Don’t leave bare plastic exposed even after polishing. Otherwise, you will see some ugly stains on your shiny finish (see the arrows). Ensure your model is completely black and glossy just before you start airbrushing the metallic lacquer!
For optimal results, I highly recommend using lacquer paints due to their finer pigments rather than acrylics. My favorite is Gunze’s Mr. Color Super Metallic line, but I’ve heard Alclad has a similar feature. In my experience, Super Chrome Silver 2 (#SM206) has delivered excellent outcomes. However, feel free to select any metallic colors that suits your project.
Avoid using sandpaper for polishing, as it’s too abrasive and could damage the model’s surface. Instead, consider sanding sponges, which follow through the contours of the model’s surface, allowing for even polishing and preservation of intricate details. Begin with 800 grits sponge (or 600 if the surface is particularly rough), and escalate to 1000, 1200, 1500, 2000, and more. For each grit, “Rub It until You Love It” – polish until you don’t see any flaws on the surface, such as scars, sink marks, orange peels, warps, or bumps. For the final polish, I recommend a sheet of printer paper.
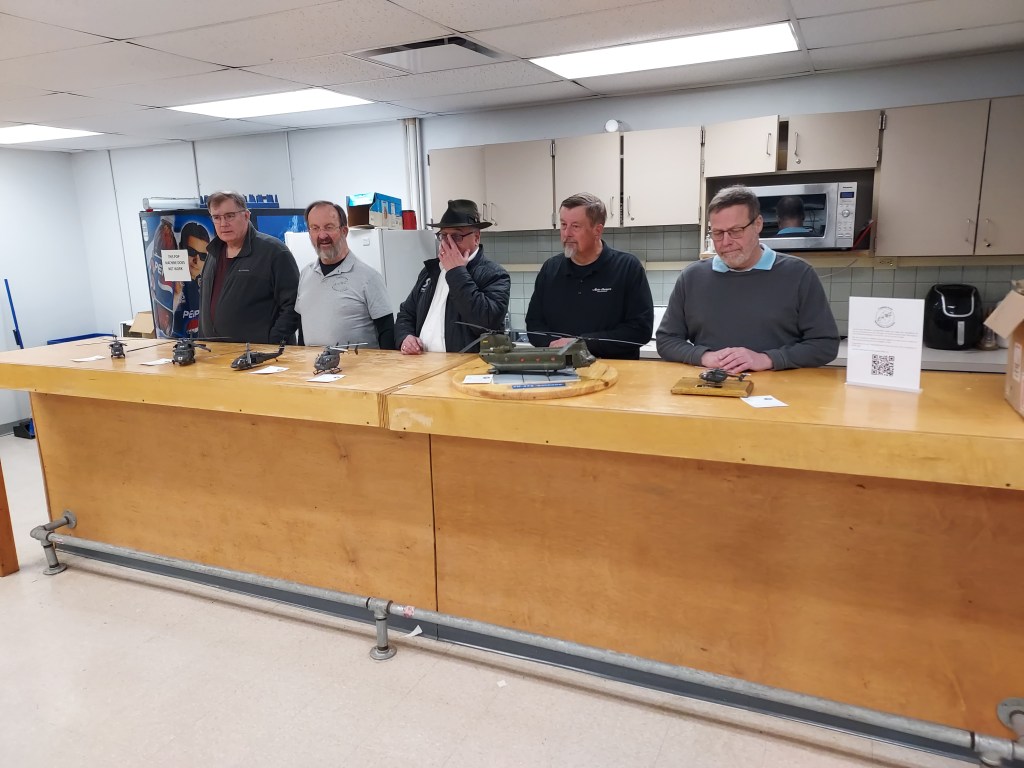


Leave a comment